
Owning an electric shaver isn’t just about convenience — it’s also about maintenance. If you’re wondering how to clean your electric shaver using a spray cleaner and lubricant, this guide will walk you through every step in a simple and practical way. A clean and well-lubricated shaver not only delivers a smoother shave but also extends its lifespan. I’ve personally used multiple shavers over the years — from Braun to Philips — and one thing I’ve learned is this: a few minutes of cleaning can save you from a lot of dull, tugging shaves.
In this complete tutorial, I’ll show you how to clean your electric shaver using a spray cleaner and lubricant, exactly the way I do it at home.
💭 Why Cleaning Your Electric Shaver Matters
Every time you shave, small hairs, dead skin cells, and oil build up between the blades and foils. Over time, this residue can dull the blades, cause irritation, and even reduce your shaver’s battery performance. Regular cleaning not only keeps your device hygienic but also ensures consistent cutting power and smoother results.
If you skip cleaning, the shaver may pull or tug at hairs, overheat, or start producing more noise. Just a quick spray clean after every couple of uses prevents all these issues — and keeps your investment working like new for years.
🧰 Tools and Materials You’ll Need
Before starting, make sure you have everything ready on your grooming station:
- Electric shaver
- Spray cleaner (preferably with disinfecting properties)
- Lubricant spray (or a 2-in-1 cleaner + lubricant combo)
- Cleaning brush (often included with your shaver)
- Microfiber cloth or paper towel
- Optional: warm water and a small bowl for rinsing washable models
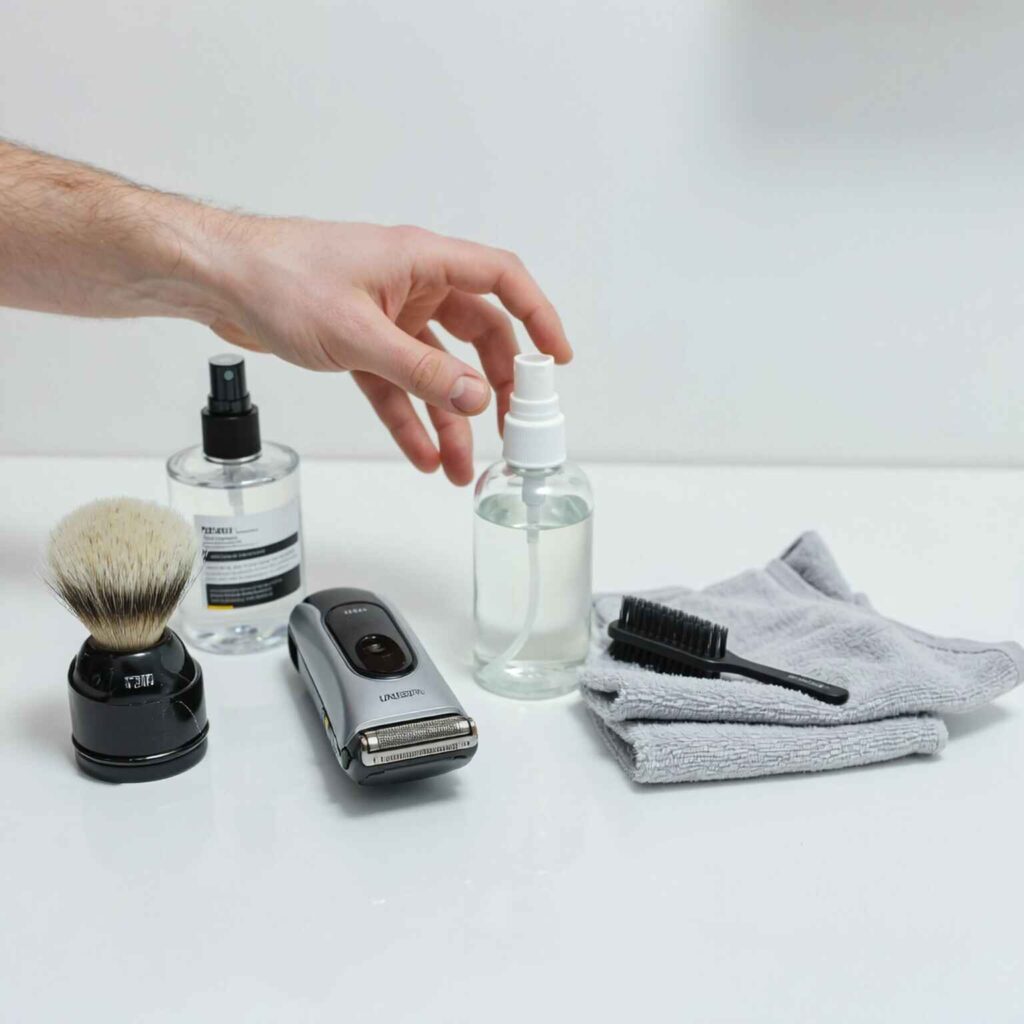
💡 Tip: I personally use a 2-in-1 spray that both cleans and lubricates. It saves time and keeps the shaver fresh after every couple of uses.
⚙️ Step-by-Step: Clean and Lubricate Your Electric Shaver
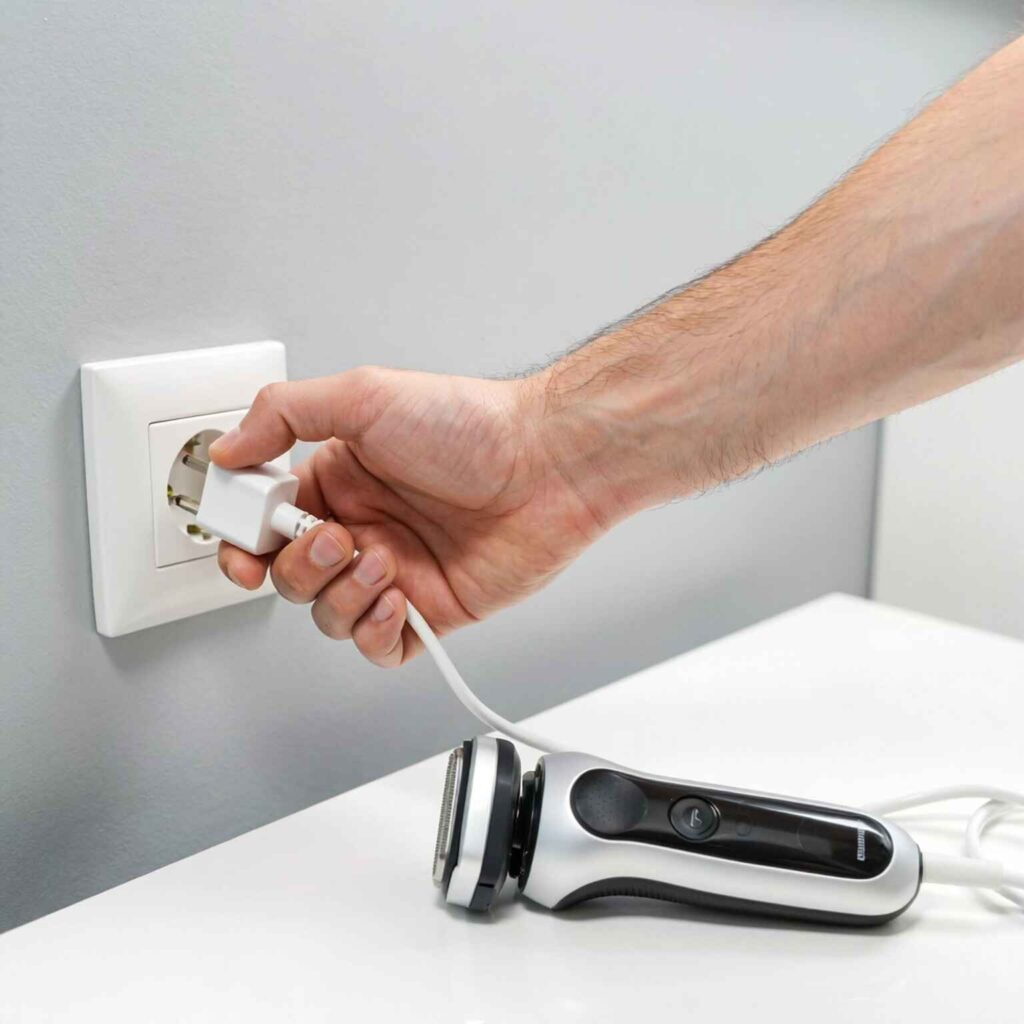
Step 1: Turn Off and Disconnect the Shaver
Always start by turning off your electric shaver and unplugging it from power.
Remove any attachments or trimming guards.
This ensures your safety and prevents short circuits while cleaning.
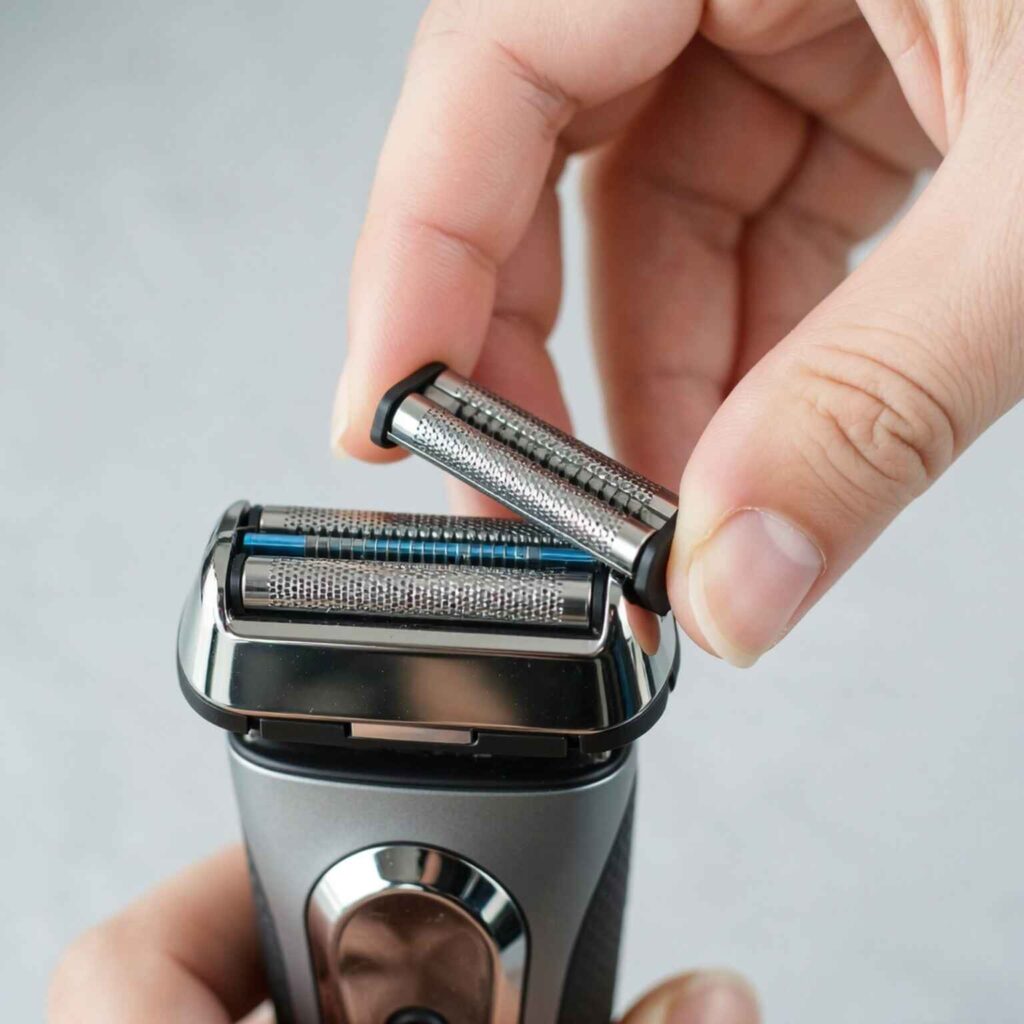
Step 2: Remove the Shaver Head
Different brands have slightly different mechanisms. Some have release buttons (like Braun or Andis), while others simply click off.
Detach the shaving head carefully — don’t use force.
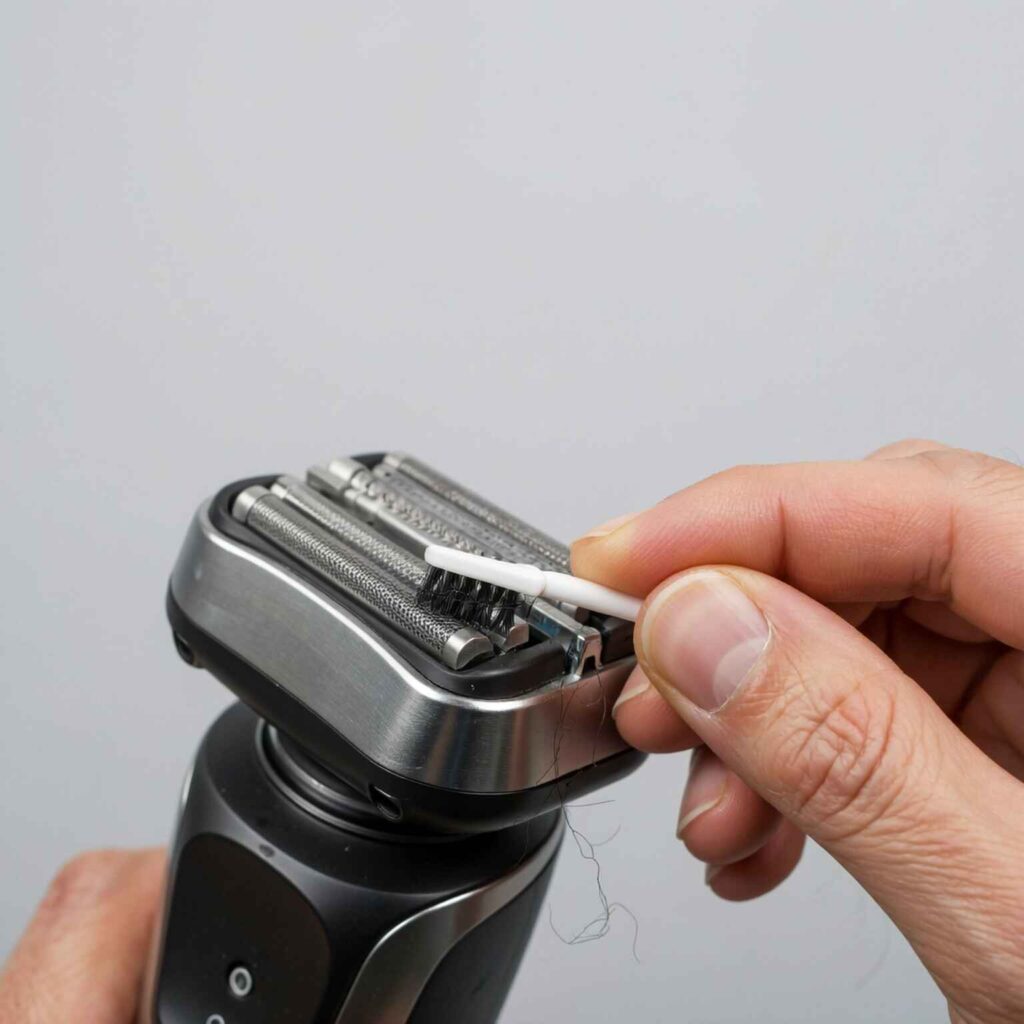
Step 3: Brush Out Loose Hair and Debris
Use the small cleaning brush to sweep away loose hairs and dirt from under the shaver head and around the blades.
Be gentle, especially around foil cutters.
Step 4: Optional – Rinse (Only if Waterproof)
If your shaver is waterproof, rinse the head under warm water or dip it in a bowl of water for a few seconds.
Avoid rinsing non-waterproof models — the spray cleaner will handle that.
Shake off excess water and dry with a towel.

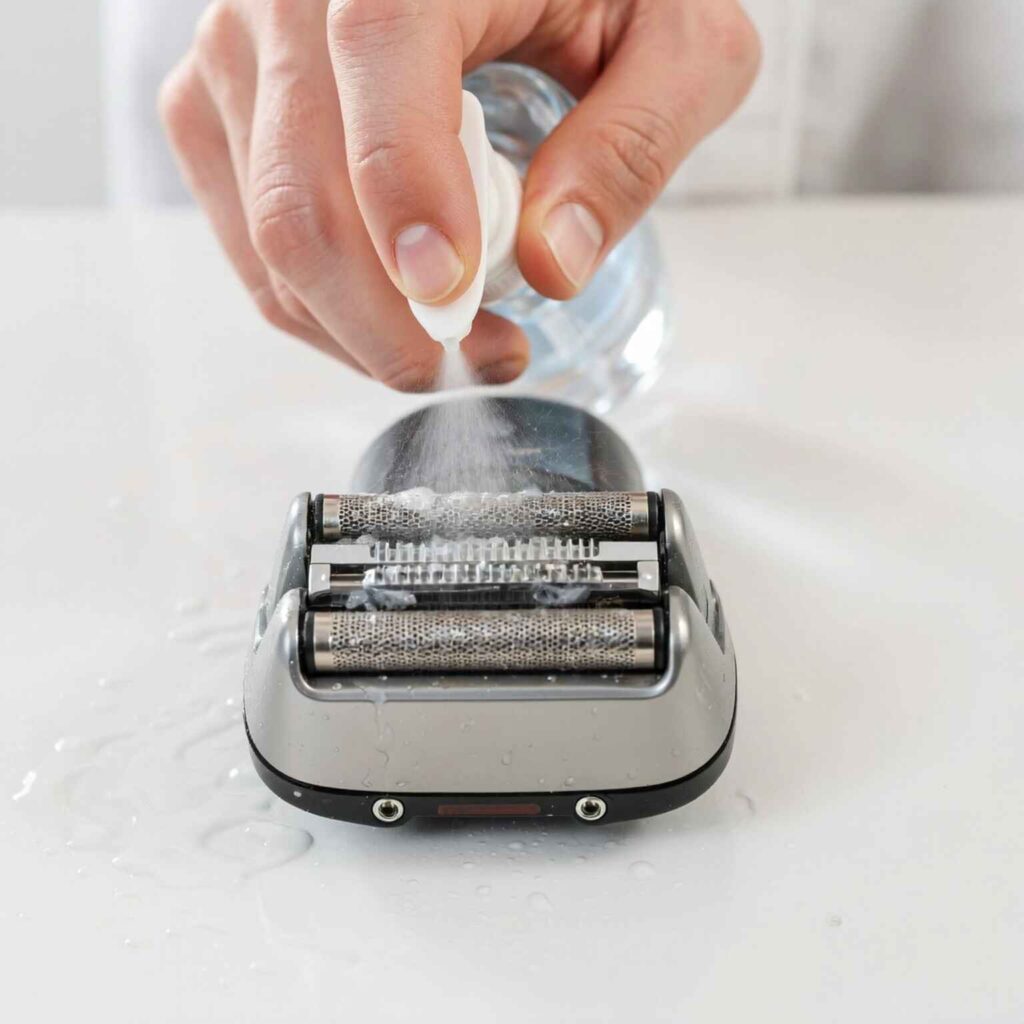
Step 5: Apply Spray Cleaner
Hold the spray bottle about 4–5 inches away from the shaver head and spray evenly on both sides of the blades.
The cleaner breaks down oil, skin residue, and grime buildup.
Let it sit for about 15 seconds so the formula can do its job.
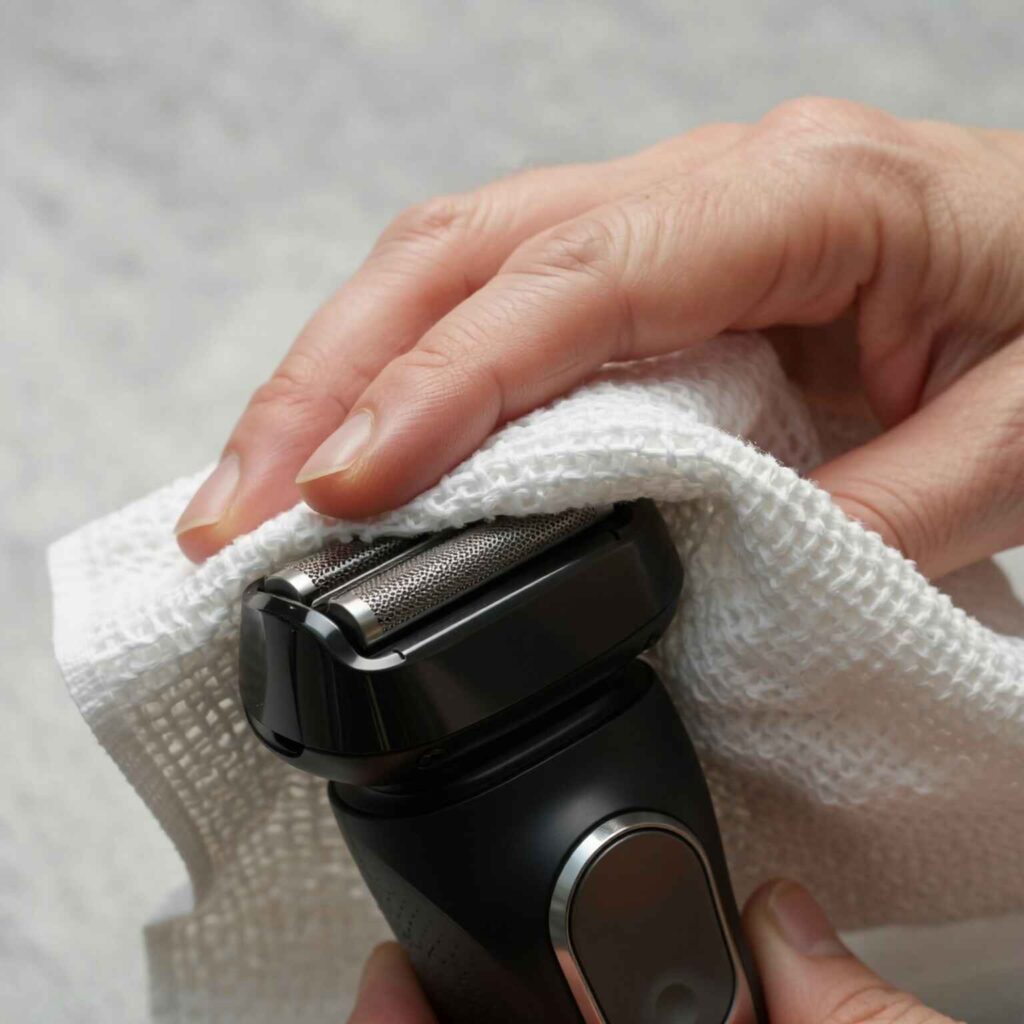
Step 6: Wipe and Dry
Use a clean microfiber cloth or tissue to gently wipe off any leftover cleaner.
If the spray is fast-drying, you can skip wiping and let it air-dry naturally.
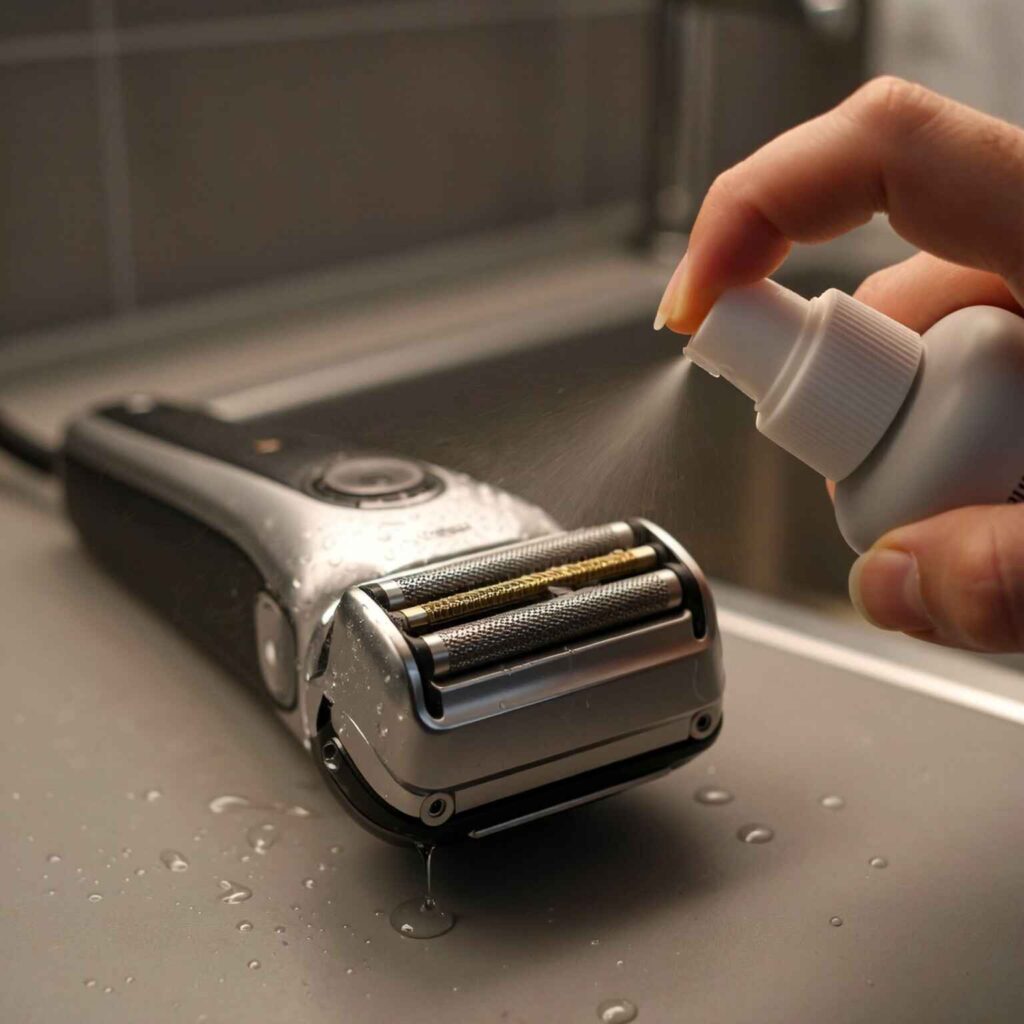
Step 7: Lubricate the Blades
Once dry, spray a small amount of lubricant directly on the blades.
Turn the shaver on for a few seconds — this spreads the oil evenly.
This step reduces friction, noise, and heat, giving you a smoother shave next time.
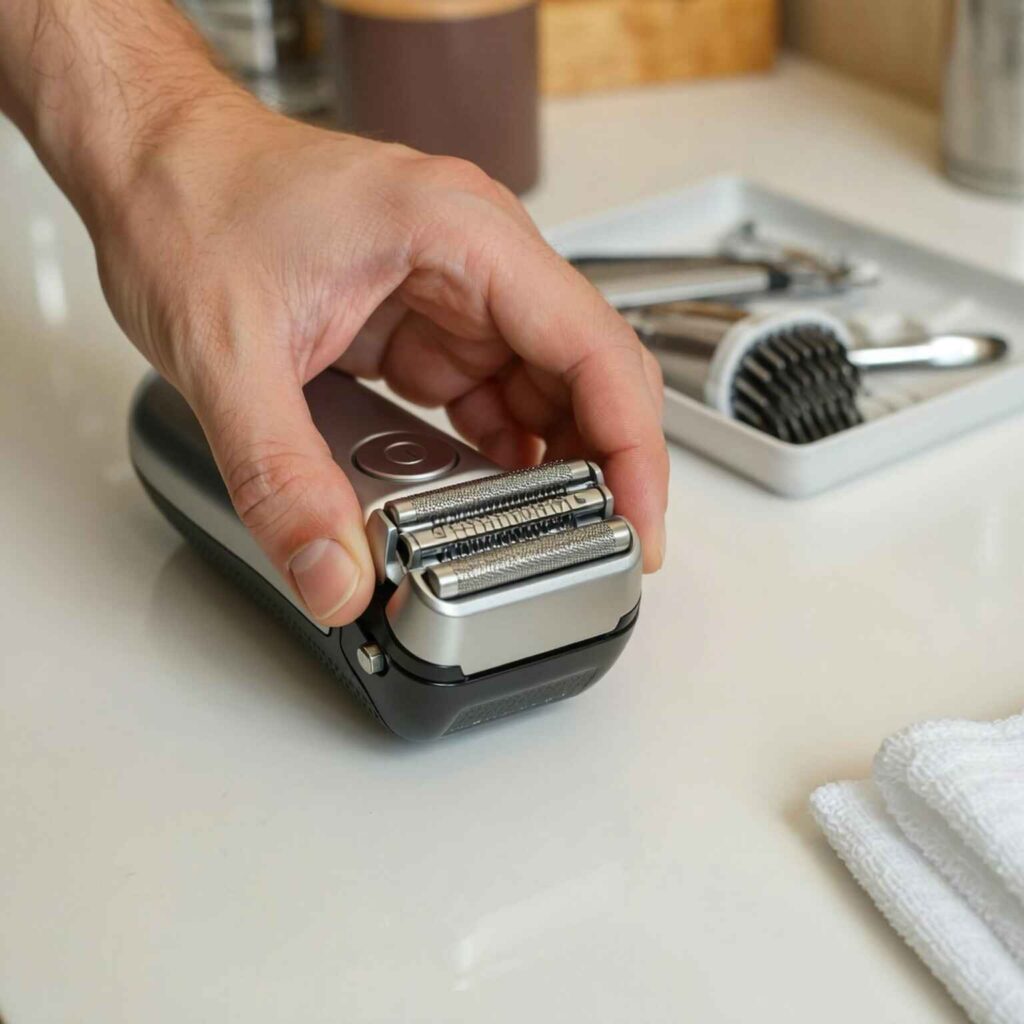
Step 8: Reassemble and Store Safely
Reattach the shaver head, ensure it clicks into place, and give it a quick test run.
Once everything feels smooth, store your shaver in a dry, cool place or its case.
⚠️ Common Mistakes to Avoid
Many users unknowingly damage their shavers while cleaning. Avoid these common pitfalls:
❌ Don’t use alcohol or harsh detergents — they dry out and corrode the blades.
❌ Don’t rinse immediately after spraying — it removes the protective lubrication.
❌ Don’t skip lubrication — dry blades dull faster and pull hair.
❌ Don’t over-lubricate — a light mist is all you need.
🔍 Bonus Tip: How Often Should You Deep Clean?
If you shave daily, a deep cleaning once every 7–10 days helps remove buildup from hard-to-reach areas.
You can combine spray cleaning with a quick rinse (for waterproof models) and let it air dry completely.
This small routine keeps the blades sharper for longer and maintains peak motor performance.
🧍♂️ My Personal Experience
I clean my Braun Series 7 after every two shaves using a Philips 2-in-1 spray.
It takes less than a minute: I spray, run it for five seconds, let it dry, and it’s ready for the next use.
This habit has kept my shaver running like new for over three years — no noise, no rust, no pulling.
From my experience, this small routine makes a massive difference in performance and skin comfort.
❓ FAQs
Q1: How often should I clean my shaver?
After every 2–3 uses. If you shave daily, a quick spray clean once a week keeps it in perfect condition.
Q2: Can I use alcohol or glass cleaner instead?
No. They can damage the blades and remove the protective oil layer. Always use a proper shaver spray.
Q3: Do I need both cleaner and lubricant?
If your spray is a 2-in-1, that’s perfect. Otherwise, use a separate lubricant after cleaning.
Q4: Is this method safe for waterproof shavers?
Yes, absolutely. Even waterproof models benefit from spray cleaning — water alone doesn’t remove oil buildup.
Q5: When should I replace the blades?
Most brands recommend every 12–18 months, depending on usage.
💡 Final Thoughts
Cleaning your electric shaver with a spray cleaner and lubricant is simple but powerful.
It keeps your blades sharp, reduces irritation, and saves money in the long run.
Once you make it part of your grooming habit, it becomes second nature — like brushing your teeth.
So next time you finish shaving, take one extra minute to give your shaver the care it deserves — it’ll reward you with smoother, cleaner shaves every morning.