When I first started cutting my own hair at home, I didn’t even know that clipper blades could get misaligned. But after a few uneven trims and a painful nick or two, I quickly learned the hard way that alignment is crucial. A properly aligned clipper gives smooth, even cuts, while a misaligned one can pull, snag, or even cut your skin.
At ShaveNest, we’ve tested and adjusted dozens of clippers—from Wahl to Andis and Remington—and through trial and error, I’ve learned how to fix blade alignment easily at home. This simple 8-step guide will walk you through the process safely and effectively.
Why Blade Alignment Matters
Clipper blades work like scissors in motion—two metal pieces moving rapidly back and forth. When they’re aligned correctly, you get smooth, even cuts. But if they’re off, one blade sticks out too far or tilts unevenly, which can lead to:
- Uneven trimming or bald spots
- Hair pulling or snagging
- Skin irritation or small cuts
- Overheating and faster blade wear
💡 Pro Tip: Never ignore even a slightly crooked blade—realign it early. Regular alignment not only improves performance but also extends your clipper’s life.
Signs Your Clipper Blades Are Misaligned
Before you start fixing anything, make sure misalignment is actually the issue. Here’s how you can tell:
- Uneven Cuts: One side trims shorter than the other.
- Pulling or Tugging: You feel hair getting yanked instead of cut.
- Visible Gap or Crooked Blade: Look closely—are the blades not parallel?
- Overheating Fast: Friction increases when blades rub unevenly.
- Louder Noise or Vibration: Misalignment often causes imbalance in movement.
💡 Pro Tip: If you notice two or more of these signs, stop using your clipper immediately and realign—it prevents long-term motor strain.
⚙️ (Easy 8-Step Home Guide)
Below is the same process I personally use every few months—or whenever my clippers start acting up. You’ll only need a screwdriver, small brush, and patience.
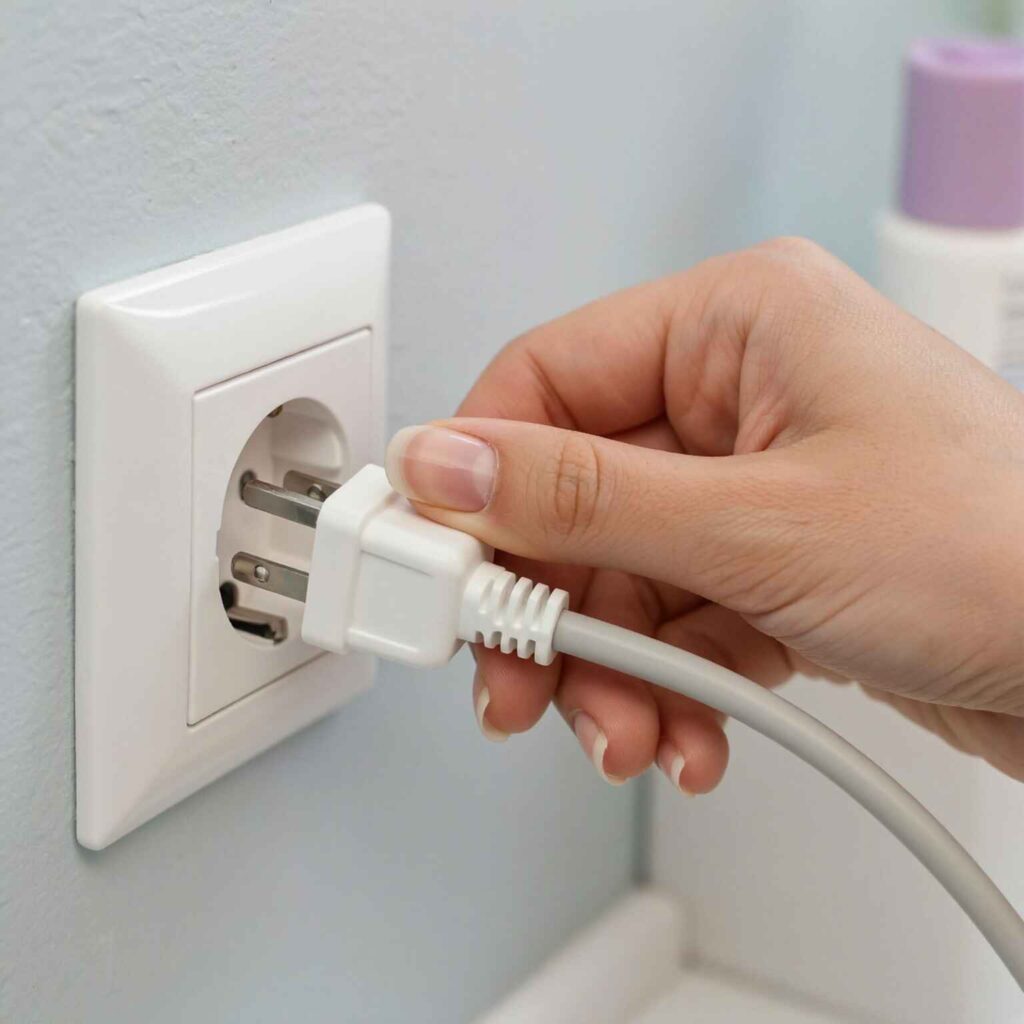
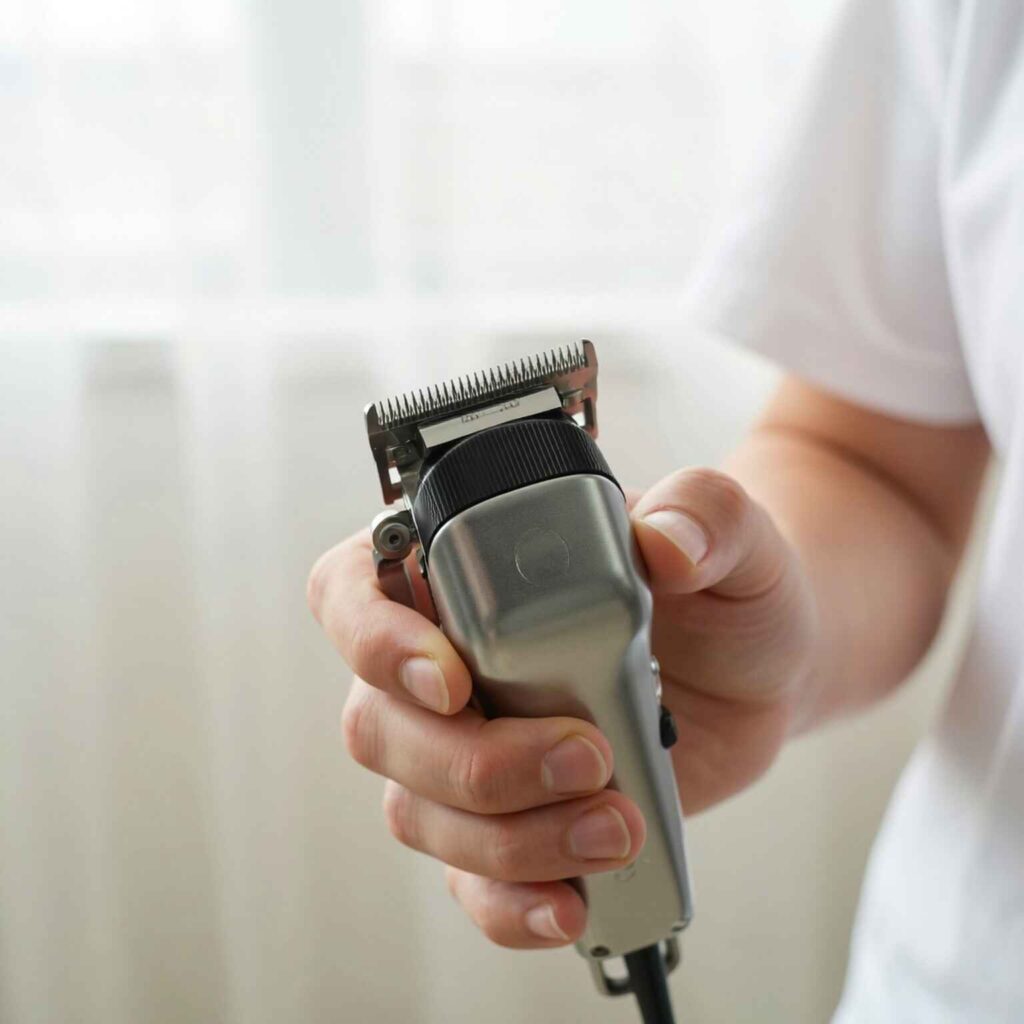
Step 1: Turn Off and Unplug the Clipper
Safety first! Always unplug your clipper before you begin. Even battery-powered models should be switched off and disconnected from the charger.
I once forgot this step and accidentally turned my clipper on mid-adjustment—not fun!
💡 Pro Tip: Always double-check your clipper is unplugged—accidental startups can cause serious injury.
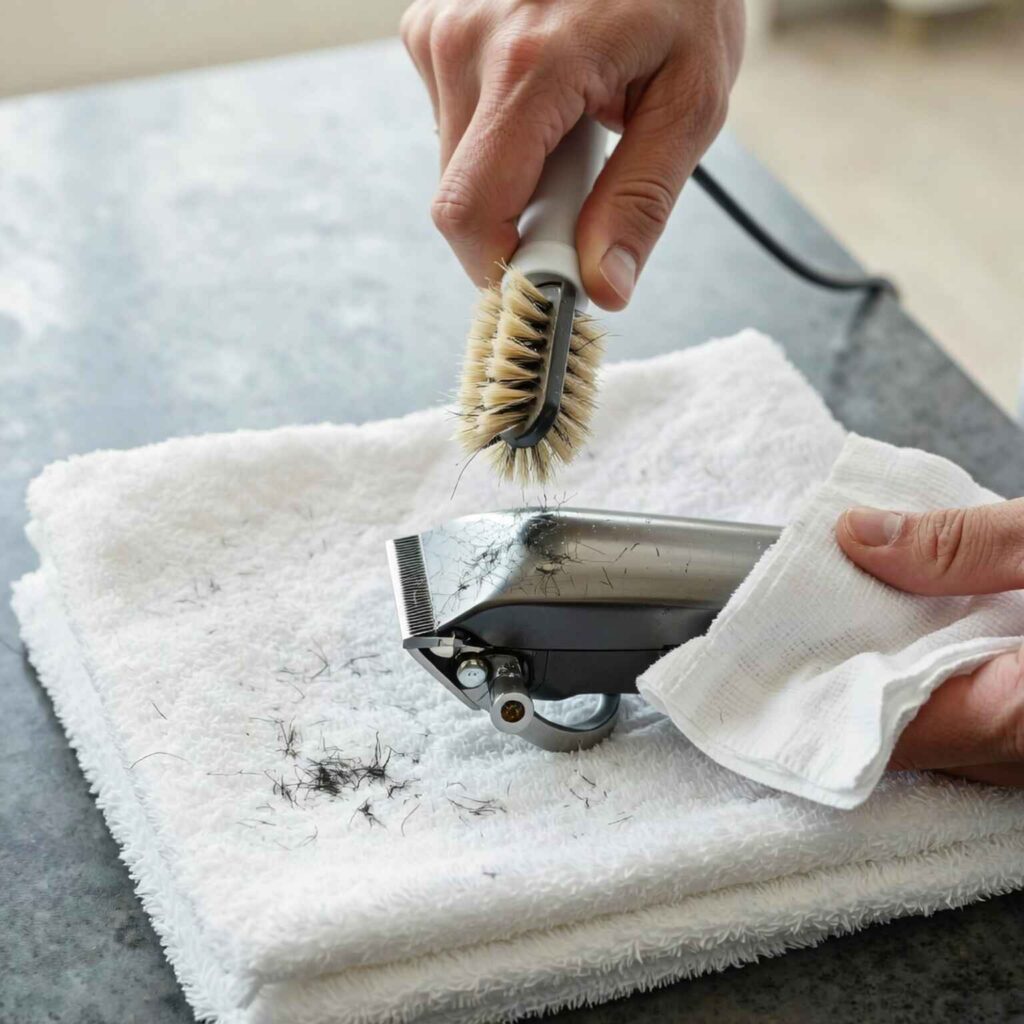
Step 2: Clean the Blades Thoroughly
Use a small brush or toothbrush to remove all hair, oil, and debris between the teeth. You can even use a drop of rubbing alcohol on a cloth to disinfect.
A clean surface ensures that when you realign, the blades sit perfectly flat without dirt pushing them out of position.
💡 Pro Tip: Always clean before aligning. Even a speck of trapped hair can throw off alignment accuracy.
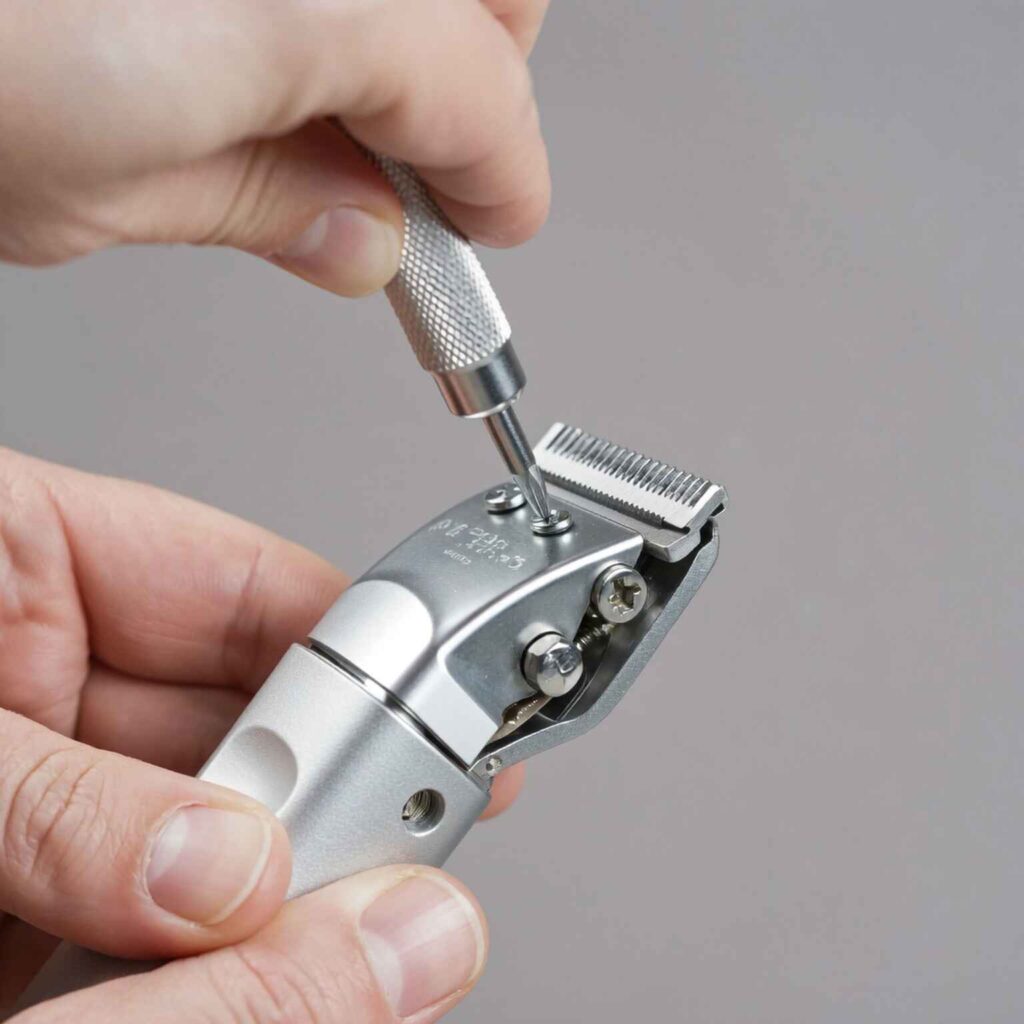
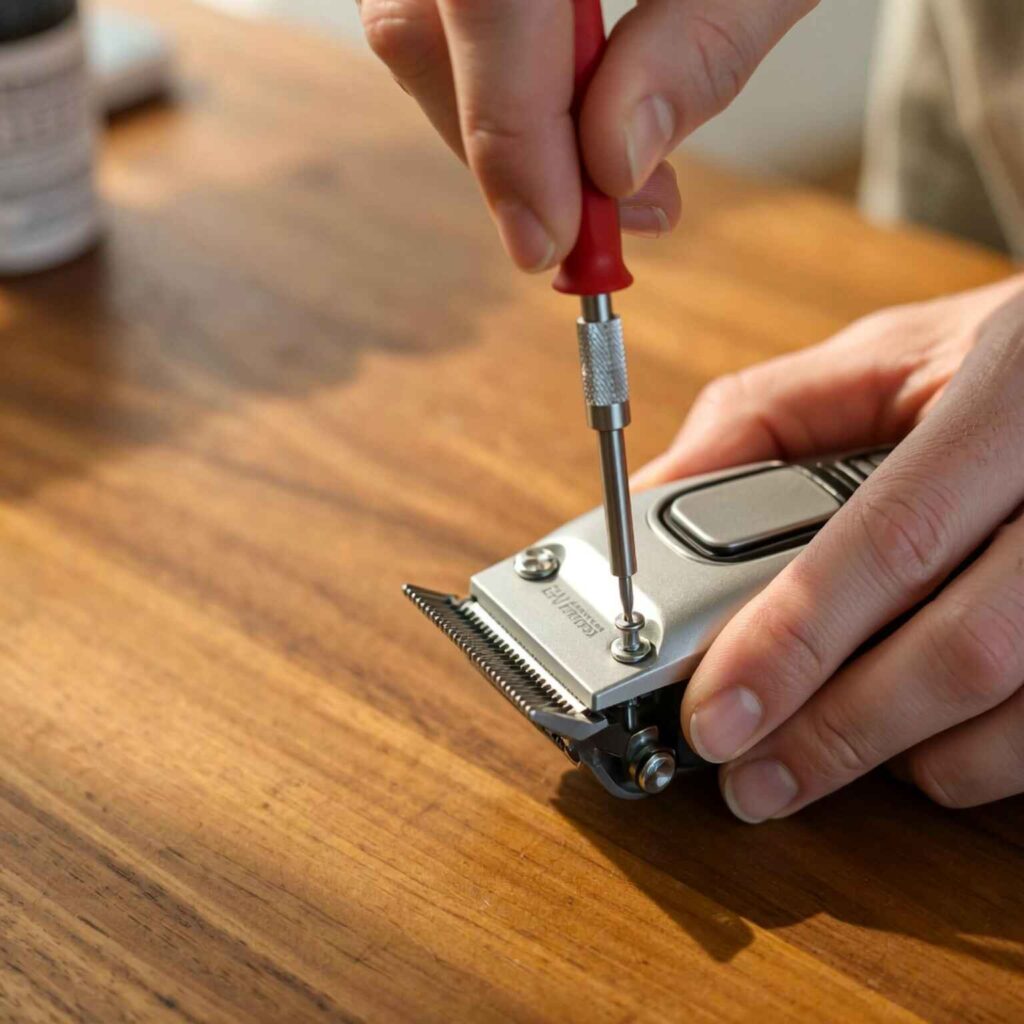
Step 3: Loosen the Blade Screws Slightly
Locate the two screws at the back of the clipper blade. Don’t remove them completely—just loosen enough so the top (moving) blade can slide back and forth easily.
Hold the clipper facing you, and be gentle. Over-loosening can cause the spring to pop out or misplace the tension bar.
💡 Pro Tip: Keep your screws halfway loosened—it gives just enough movement for alignment without losing tension.
Step 4: Align the Top and Bottom Blades
This is the most crucial step.
The bottom (stationary) blade should sit slightly below the top (moving) blade’s edge—never above it.
The blade tips should form a straight line across, especially at the corners.
If one corner sticks out even slightly, it can cause cuts.
💡 Pro Tip: From experience, I always align mine with about a 1 mm visible gap between the top and bottom blades—it’s the sweet spot for both precision and safety.
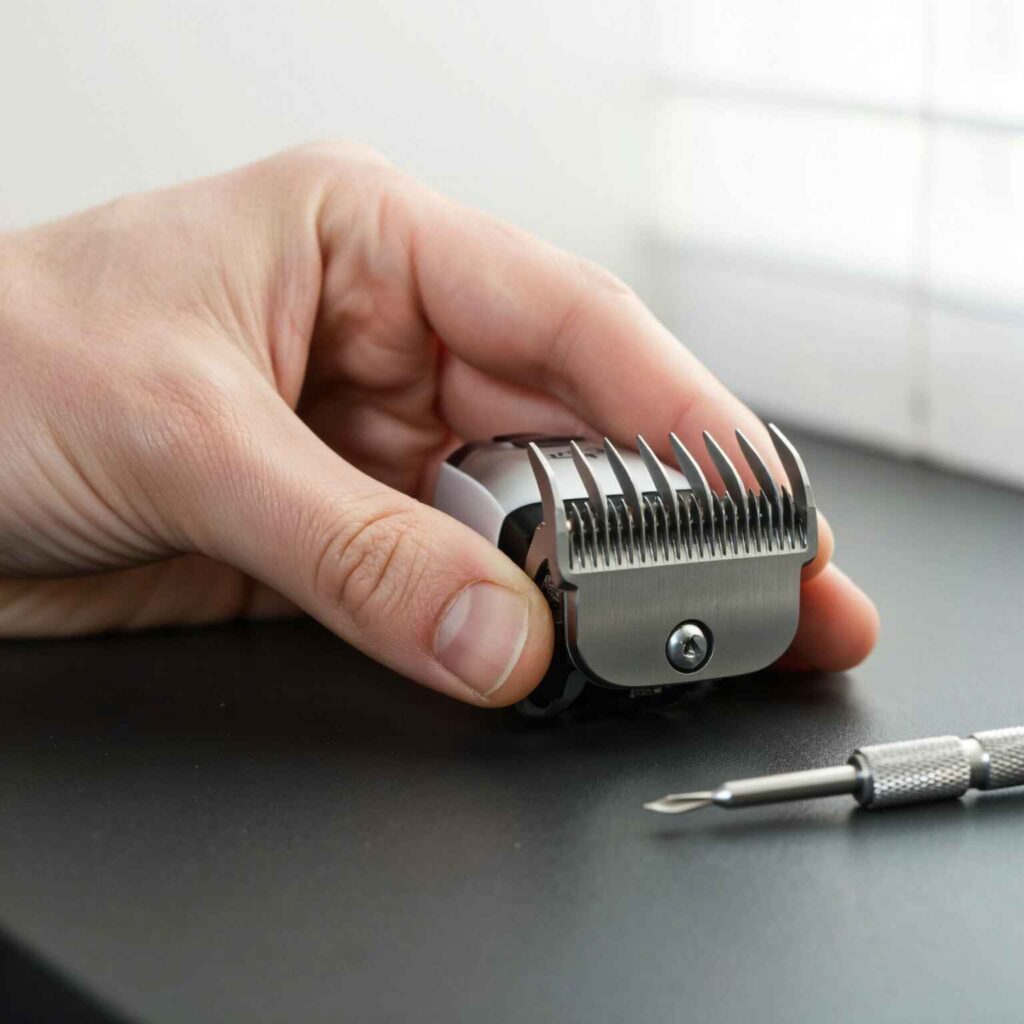
Step 5: Check Blade Position Symmetry
Look directly down the front of the clipper. Both sides of the top blade should line up evenly with the sides of the bottom blade.
If it looks tilted or off-center, gently tap the blade with your finger or use a small flat tool to shift it into place.
💡 Pro Tip: At ShaveNest, our barbers always say: “Your eyes are your best alignment gauge.” Take your time—perfect symmetry makes all the difference.
Step 6: Tighten the Screws Slowly While Holding Alignment
Keep the blades firmly in position with one hand and tighten the screws evenly. Tighten one screw halfway, then the other, then go back and secure both fully.
This alternating method keeps the blade from shifting as you tighten.
💡 Pro Tip: Tighten gradually and evenly—rushing this step can easily offset your alignment.
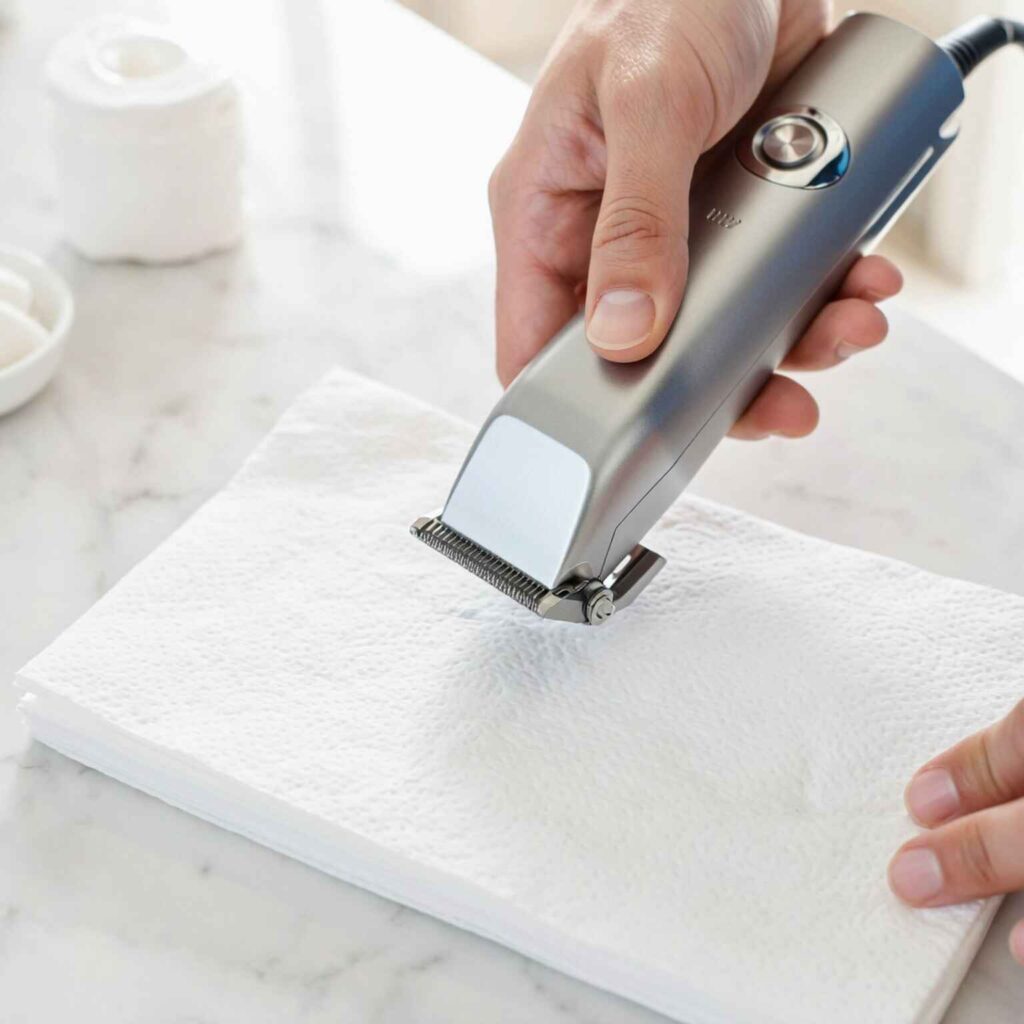
Step 7: Test the Clipper (Without Touching Skin)
Plug the clipper back in and run it for 10–15 seconds.
Listen for any strange vibrations or rattling.
Visually check if the blades move smoothly without wobble.
If all looks and sounds good, you’re almost done.
I like to test on a paper towel or arm hair patch before using it on my head—just to be extra safe.
💡 Pro Tip: Never test directly on skin after alignment—use paper or a brush first to confirm even motion.
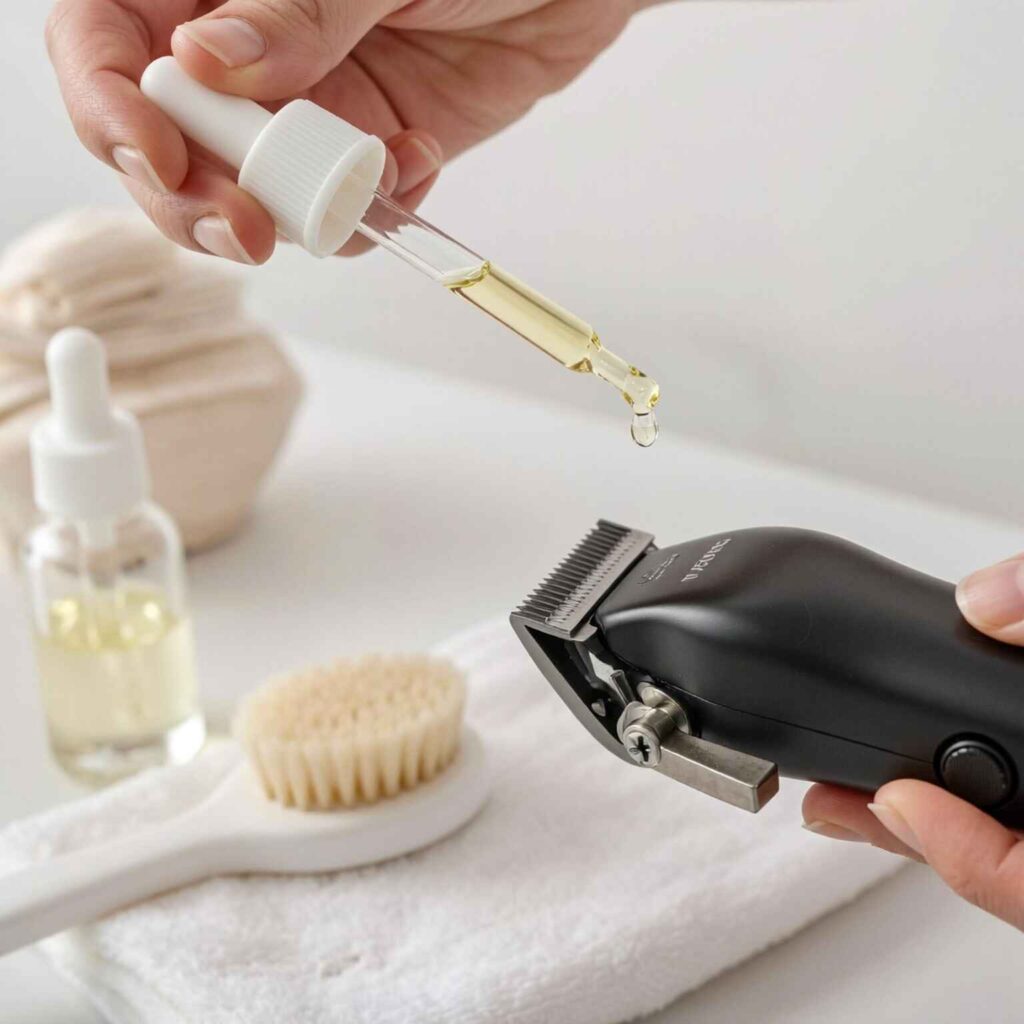
Step 8: Oil the Blades
Finish by applying 2–3 drops of clipper oil along the moving blade’s edge. Turn on the clipper for a few seconds to distribute it evenly.
Oiling reduces friction, keeps your clipper cooler, and helps blades last longer.
I oil mine before and after every use—it’s a small habit that makes a big difference.
💡 Pro Tip: Don’t over-oil—just a couple of drops is enough. Excess oil attracts dust and reduces performance.
Pro Tips for Perfect Alignment (From My Experience)
- Use proper lighting: Good visibility prevents tiny mistakes.
- Avoid rushing: Misalignment by even a hairline can scratch skin.
- Keep your hands steady: Rest your elbows on the table while adjusting.
- Don’t overtighten screws: It can warp blade alignment.
- Recheck monthly: Especially if you use your clipper often or for fades.
💡 Pro Insight: Once I started following these habits, I noticed smoother fades, quieter operation, and zero pulling even after months of use.
Maintenance Tips to Keep Blades Sharp Longer
- Clean after every trim.
- Disinfect weekly.
- Oil before and after use.
- Avoid dropping your clipper.
- Store properly to prevent rust.
💡 Pro Tip: At ShaveNest, we recommend a full maintenance check every two weeks if you cut your hair regularly—preventive care saves money and time.
Common Mistakes to Avoid While Aligning
- Aligning blades while the clipper is running (dangerous).
- Ignoring factory guidelines for specific brands.
- Forgetting to test alignment before trimming.
- Using the wrong screwdriver or over-loosening screws.
- Oiling too much or too little (2–3 drops are ideal).
💡 Pro Tip: Always take your time—one careless step can cause uneven cuts or skin irritation.
When to Replace vs. Realign Blades
Sometimes alignment isn’t enough. If your clipper still tugs, cuts unevenly, or the blades show visible rust or chipping—it’s time to replace them.
Most manufacturers recommend replacing blades every 6–12 months, depending on use.
If you maintain and realign regularly, however, you can easily double that lifespan.
💡 Pro Tip: If you hear loud vibrations even after alignment and oiling, it’s a clear sign your blades are due for replacement.
Final Thoughts
Learning how to align clipper blades at home isn’t complicated—it just needs patience and care.
From my early DIY trims to professional grooming at ShaveNest, one truth stands out: a well-aligned clipper is key to a clean, comfortable haircut.
Whether you’re maintaining your beard, doing fades, or trimming neckline edges, keeping your blades sharp and straight will make every cut smoother, faster, and safer.
💡 Final Tip: A 5-minute alignment routine saves you from hours of frustration—and helps your clipper last twice as long.
❓ FAQs
How often should I check my clipper blade alignment?
Every 2–3 weeks if you use your clipper regularly, or whenever you feel pulling or uneven cuts.
Can misaligned blades damage the clipper motor?
Yes. Continuous friction increases motor strain and heat, which can reduce motor life.
What’s the best oil for clipper blades?
Use clipper-specific oil—avoid cooking or motor oil as they attract debris.
How do I know if my blades are beyond repair?
Rust, chips, or dullness after sharpening are clear signs you need replacements.
Is alignment the same for all brands?
Mostly yes, but always check your brand’s manual—Wahl, Andis, and Philips may have slight variations.